
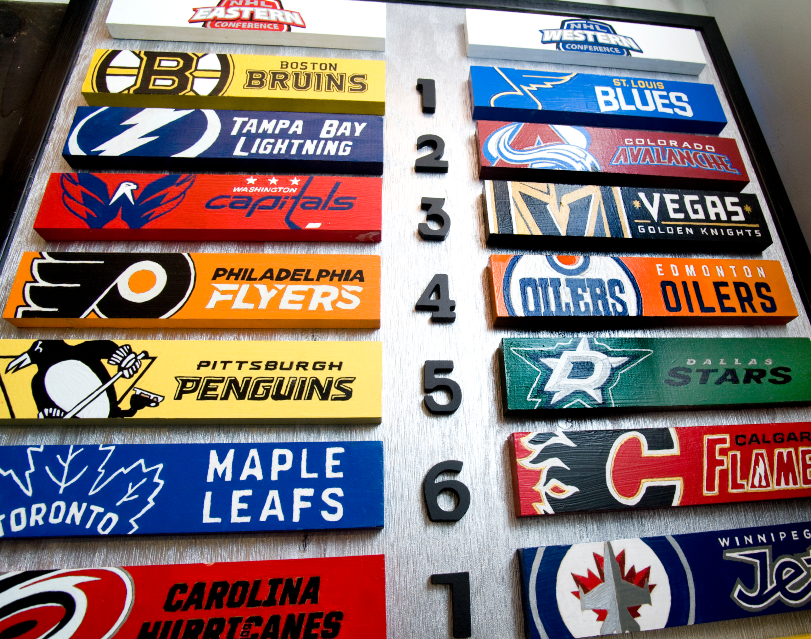
Finally! We have finished the NHL standings board with all 31 teams.
In the spring of 2018, I saw some images online of MLB and NHL scoreboards that people had crafted for their living room or bar. I never really thought it would actually come to life, but my wife approved of the idea and was willing to help so we started working on it together that summer.
We had no idea what we were getting into!
The idea of painting colorful boards for each team sounded great, and we thought this would be a relaxing way to spend time together over the next few months.
The original goal was to have the project completed before the start of the 2018 season, but this ended up taking nearly a full two years to complete.

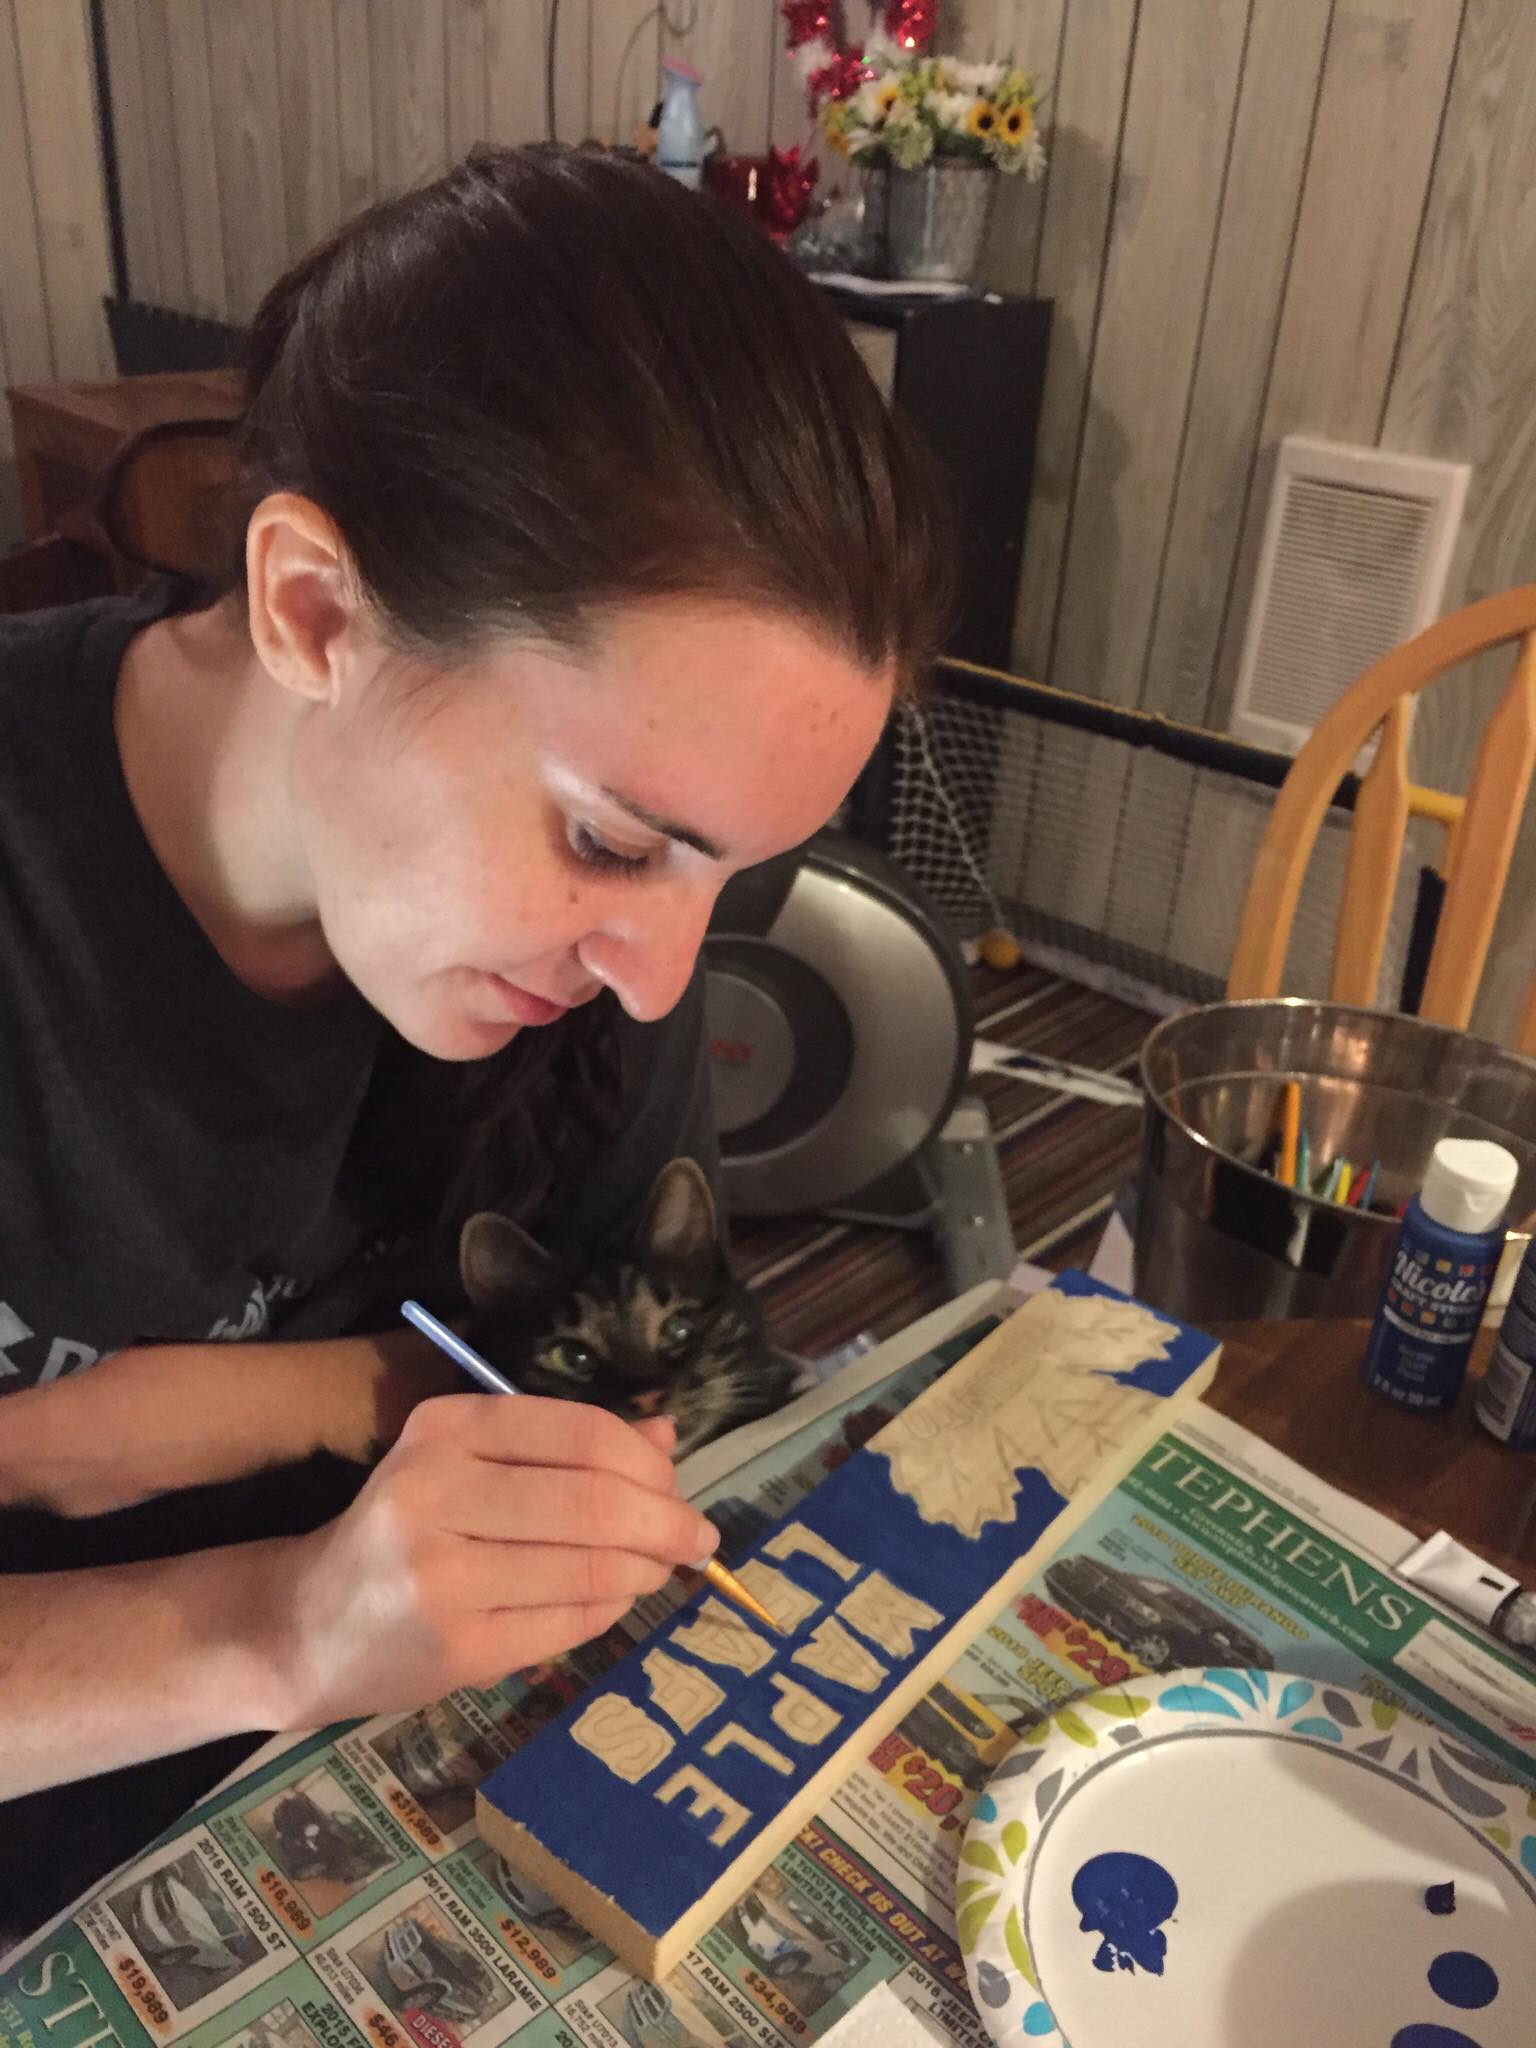
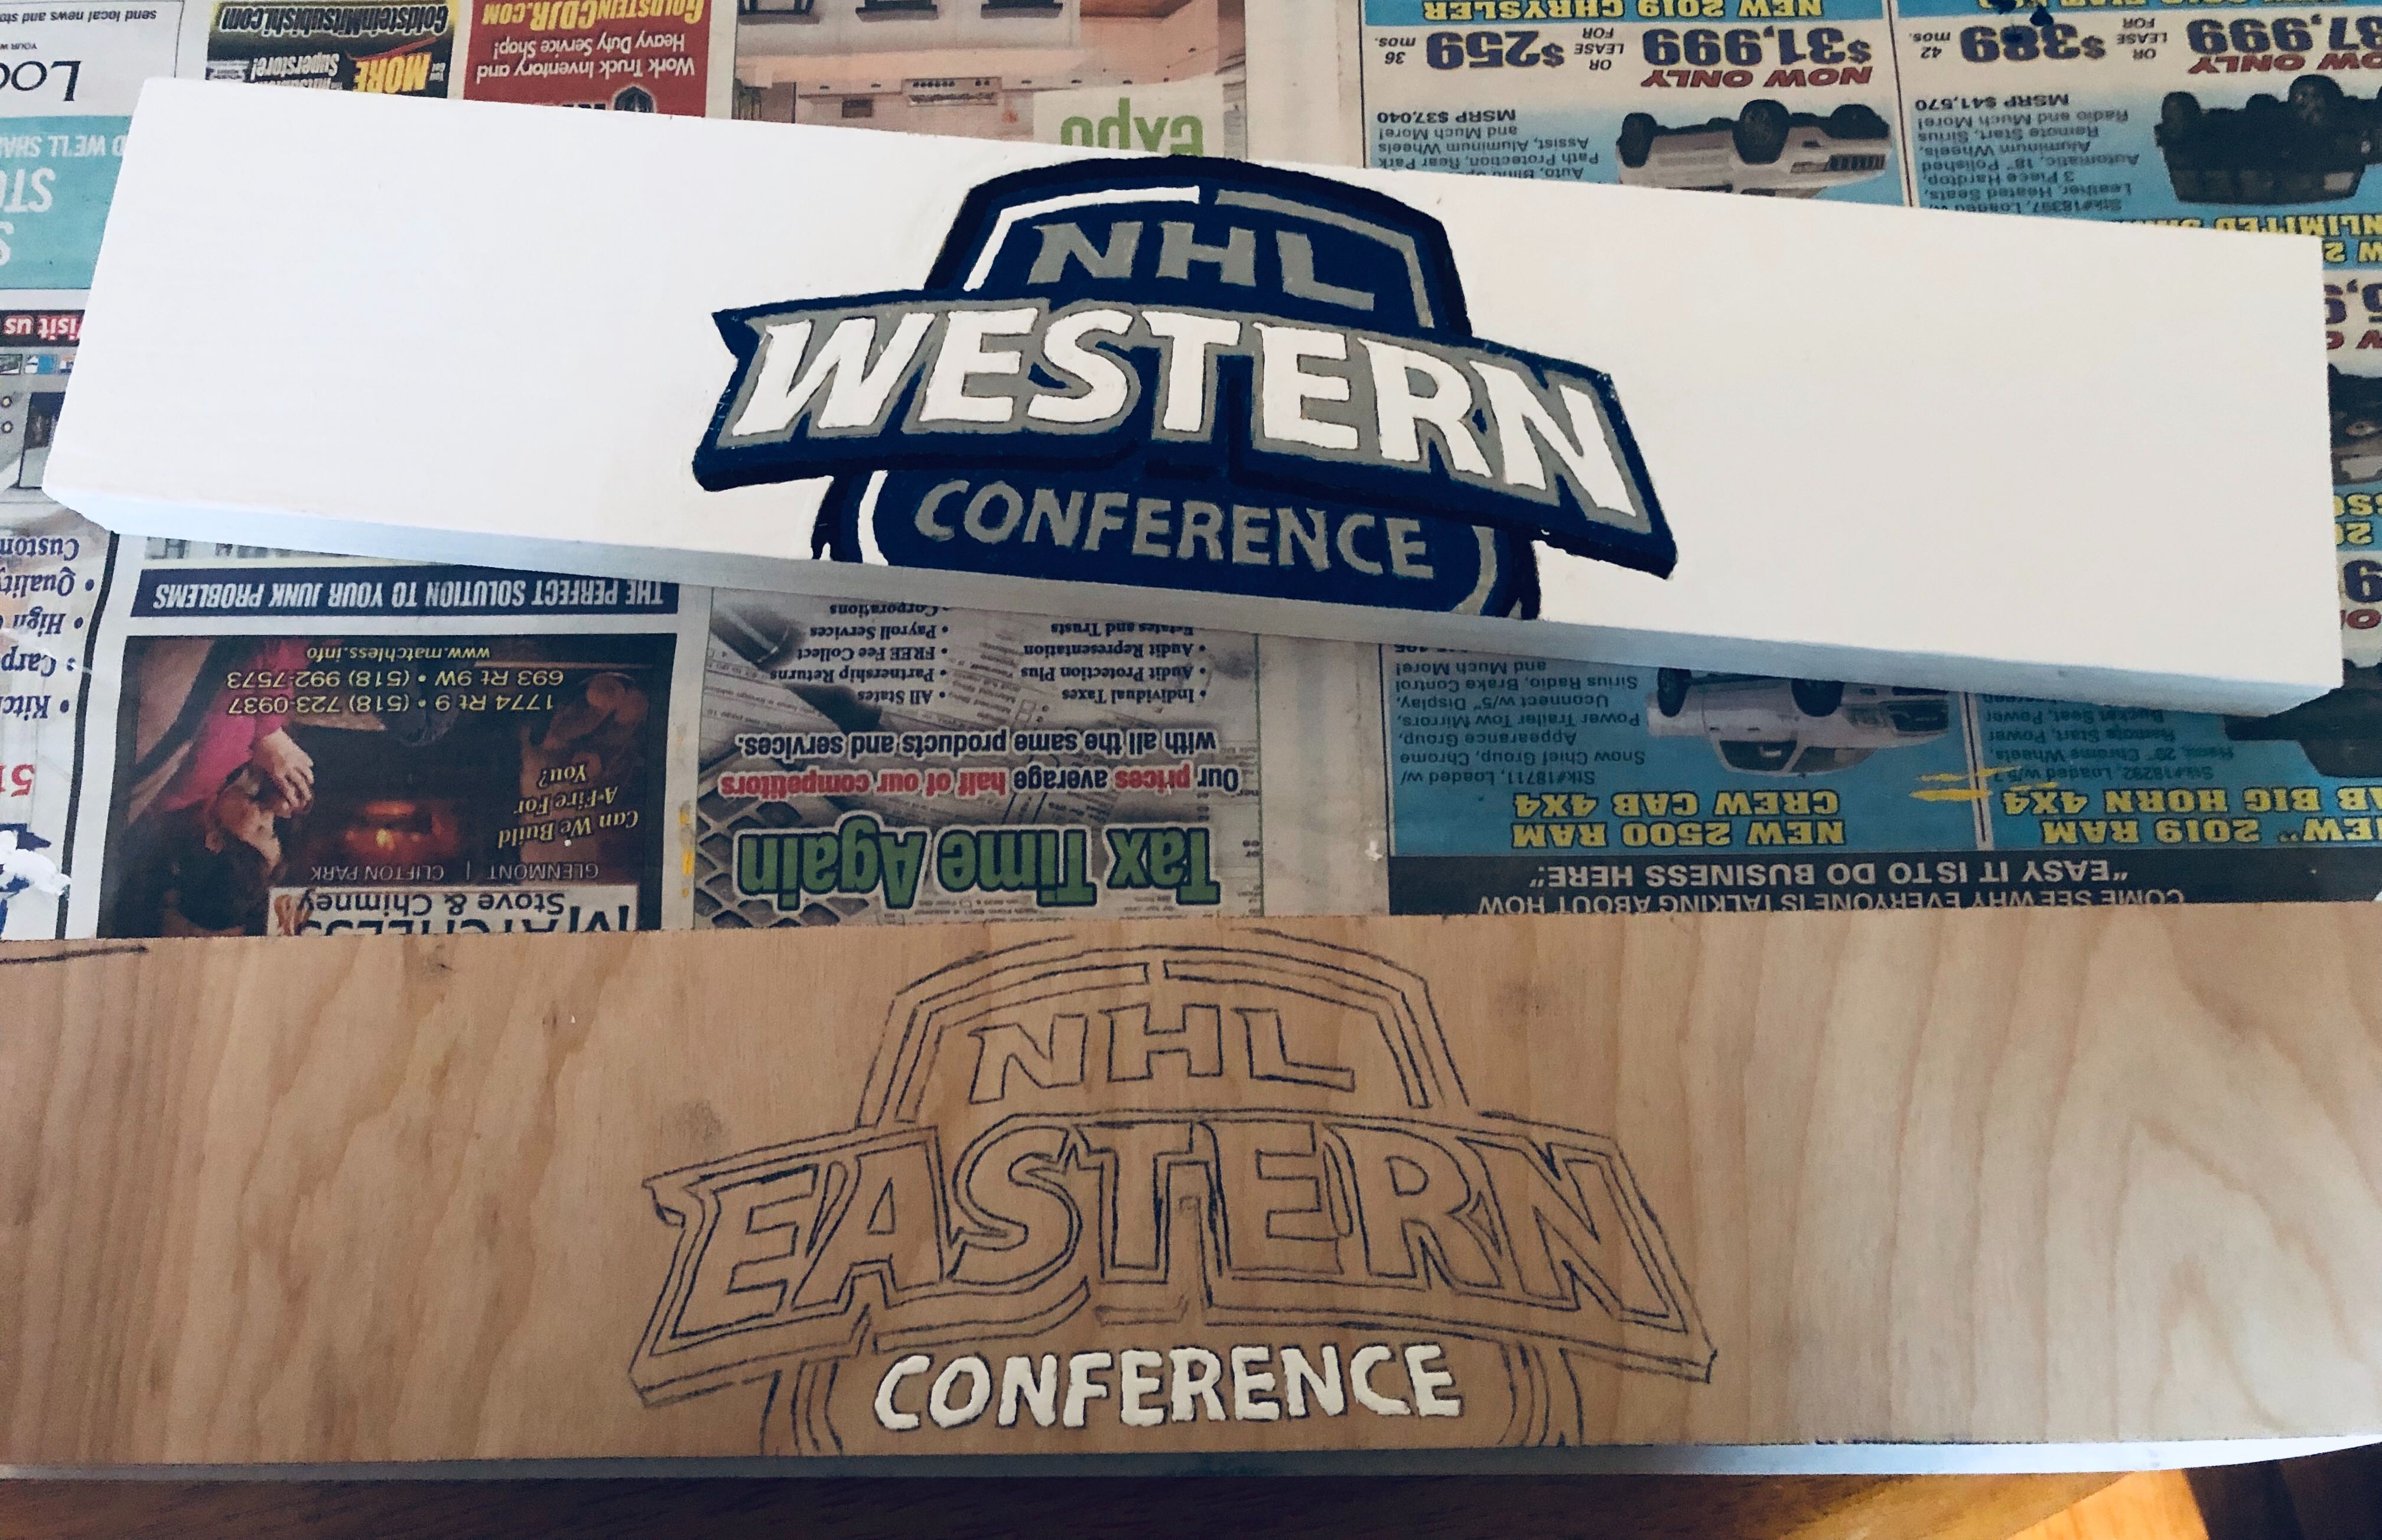
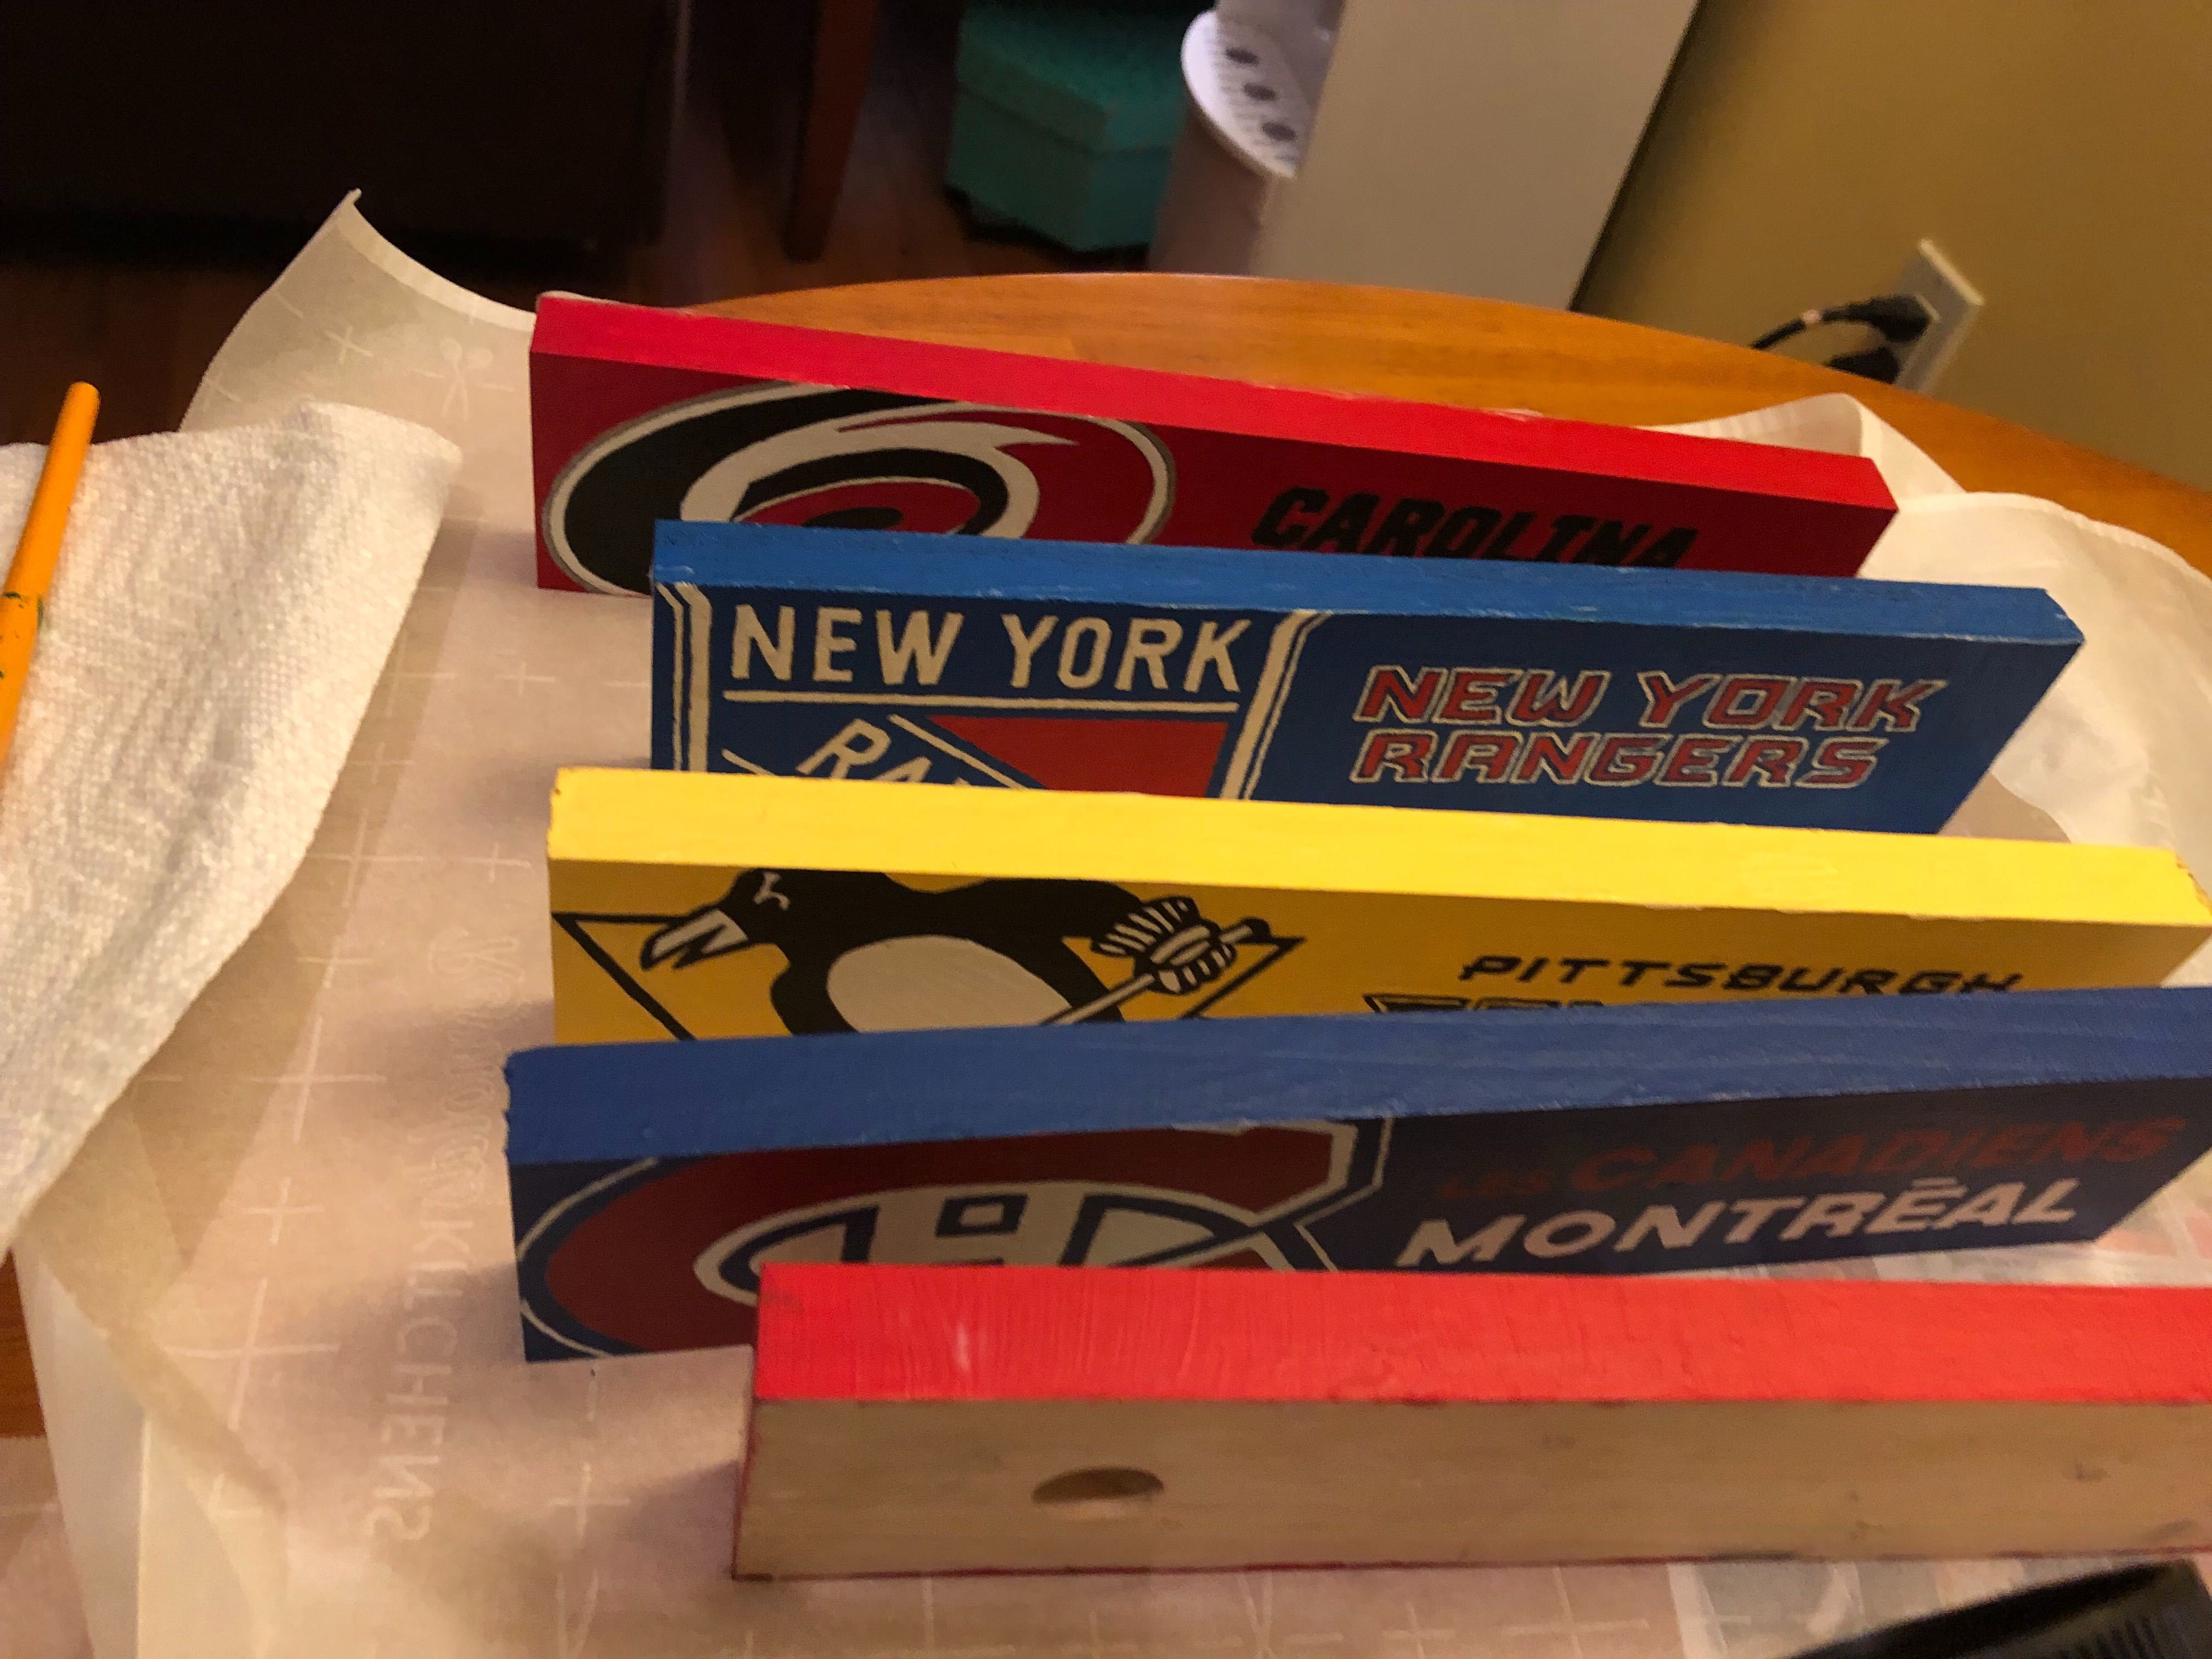
The first step was getting the graphics onto the wood, which we did by tracing with a pencil through carbon paper.
We quickly found out that the amount of detail on all of the logos and fonts was way greater than we realized.
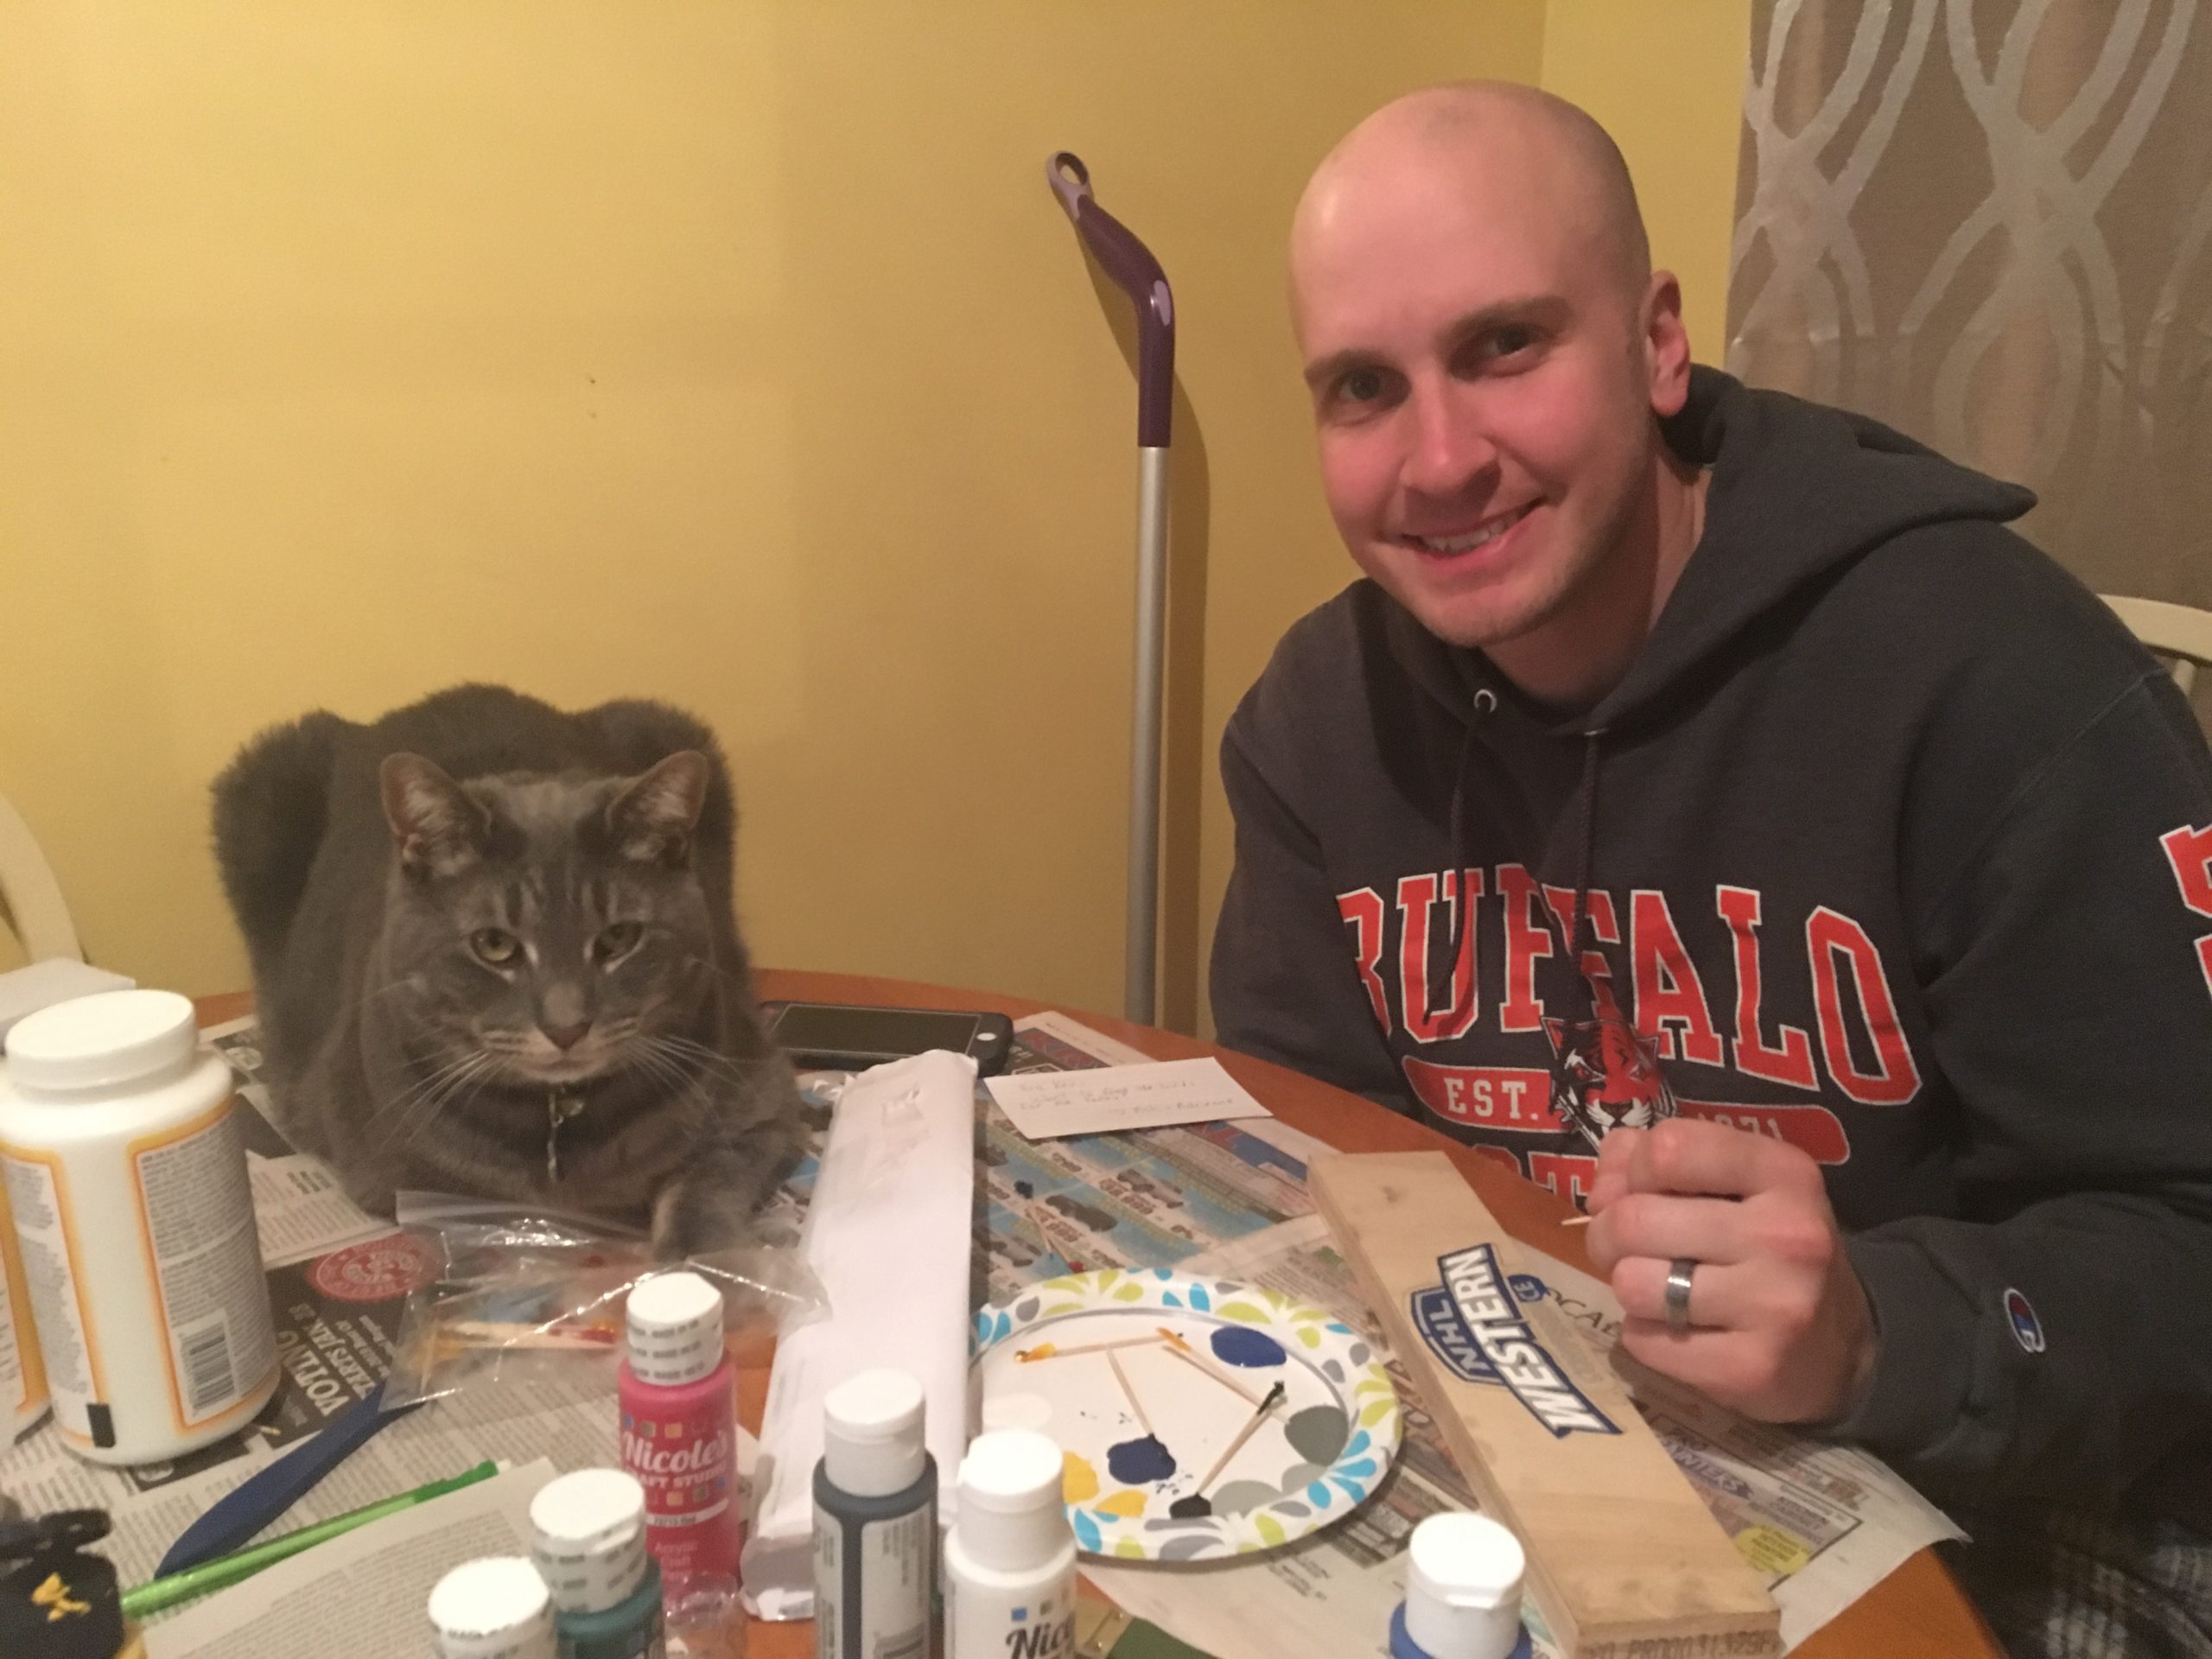
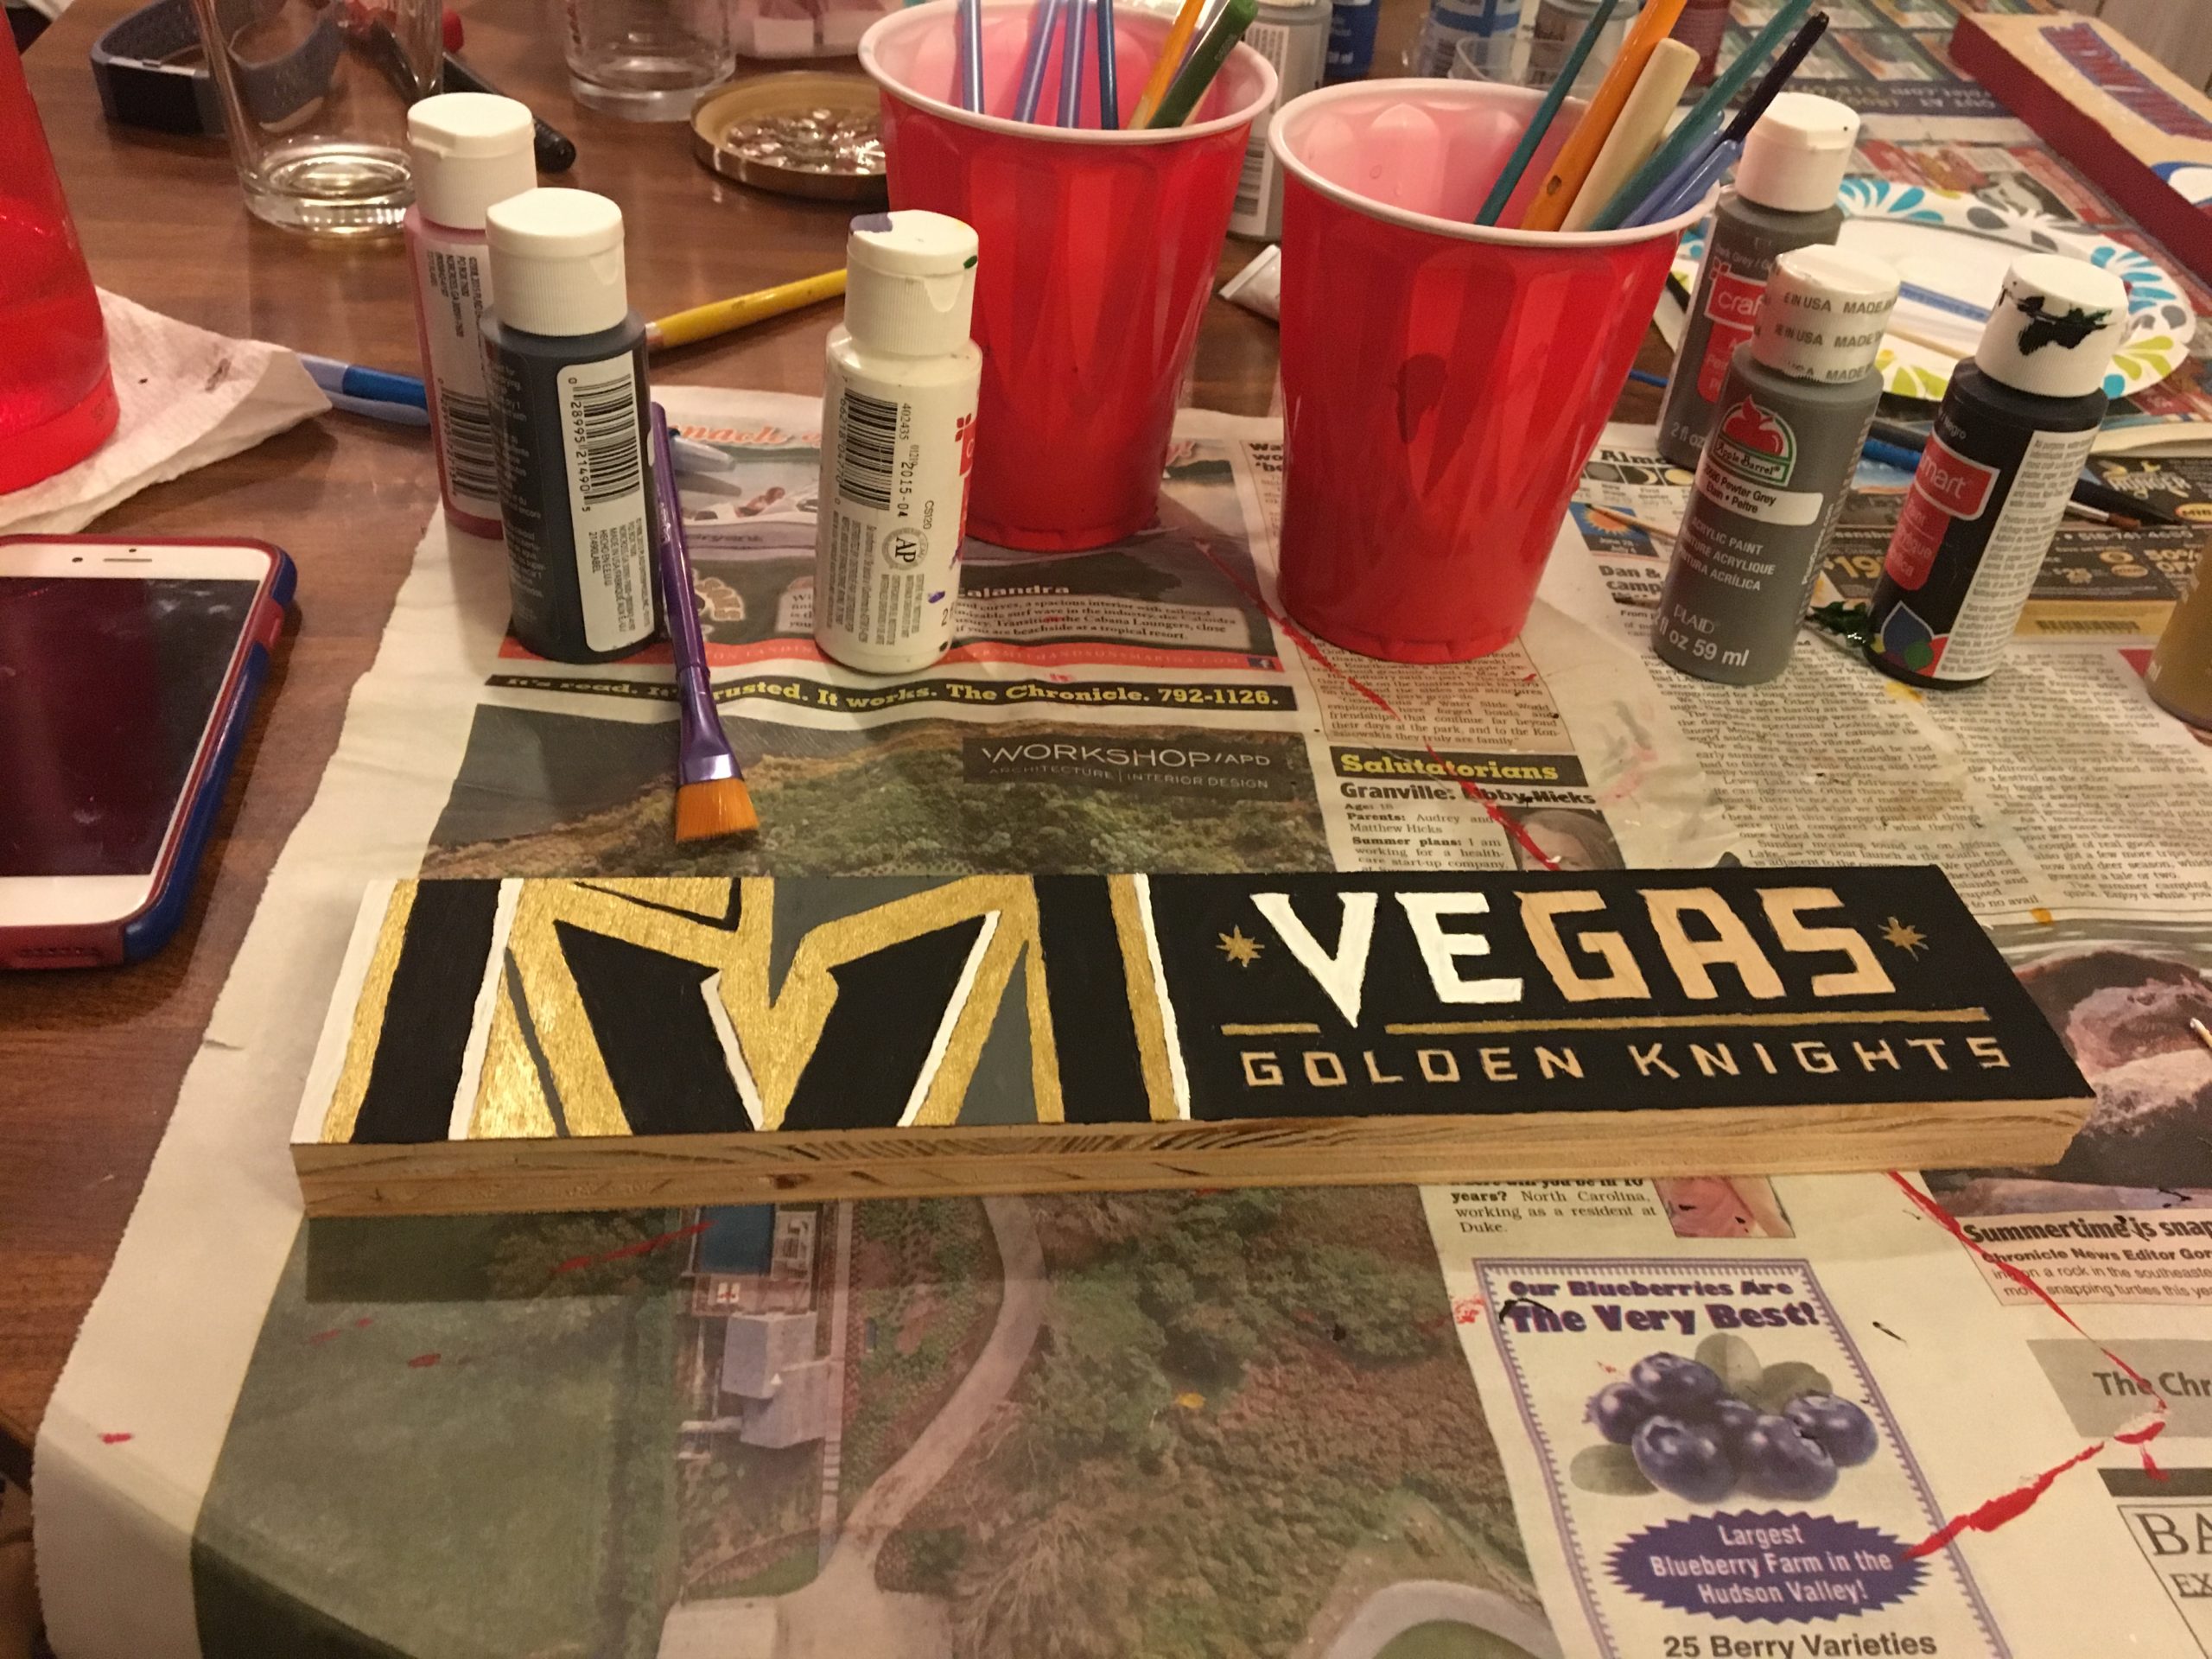
A majority of the painting was done with toothpicks due to teams having numerous borders and microscopic parts of their logos and lettering.
We began the process by getting the actual boards cut and my father-in-law helped drill holes in the back of them for where two magnets would go. This turned out to be a great way to have them stay attached to the actual board while being easily removable.

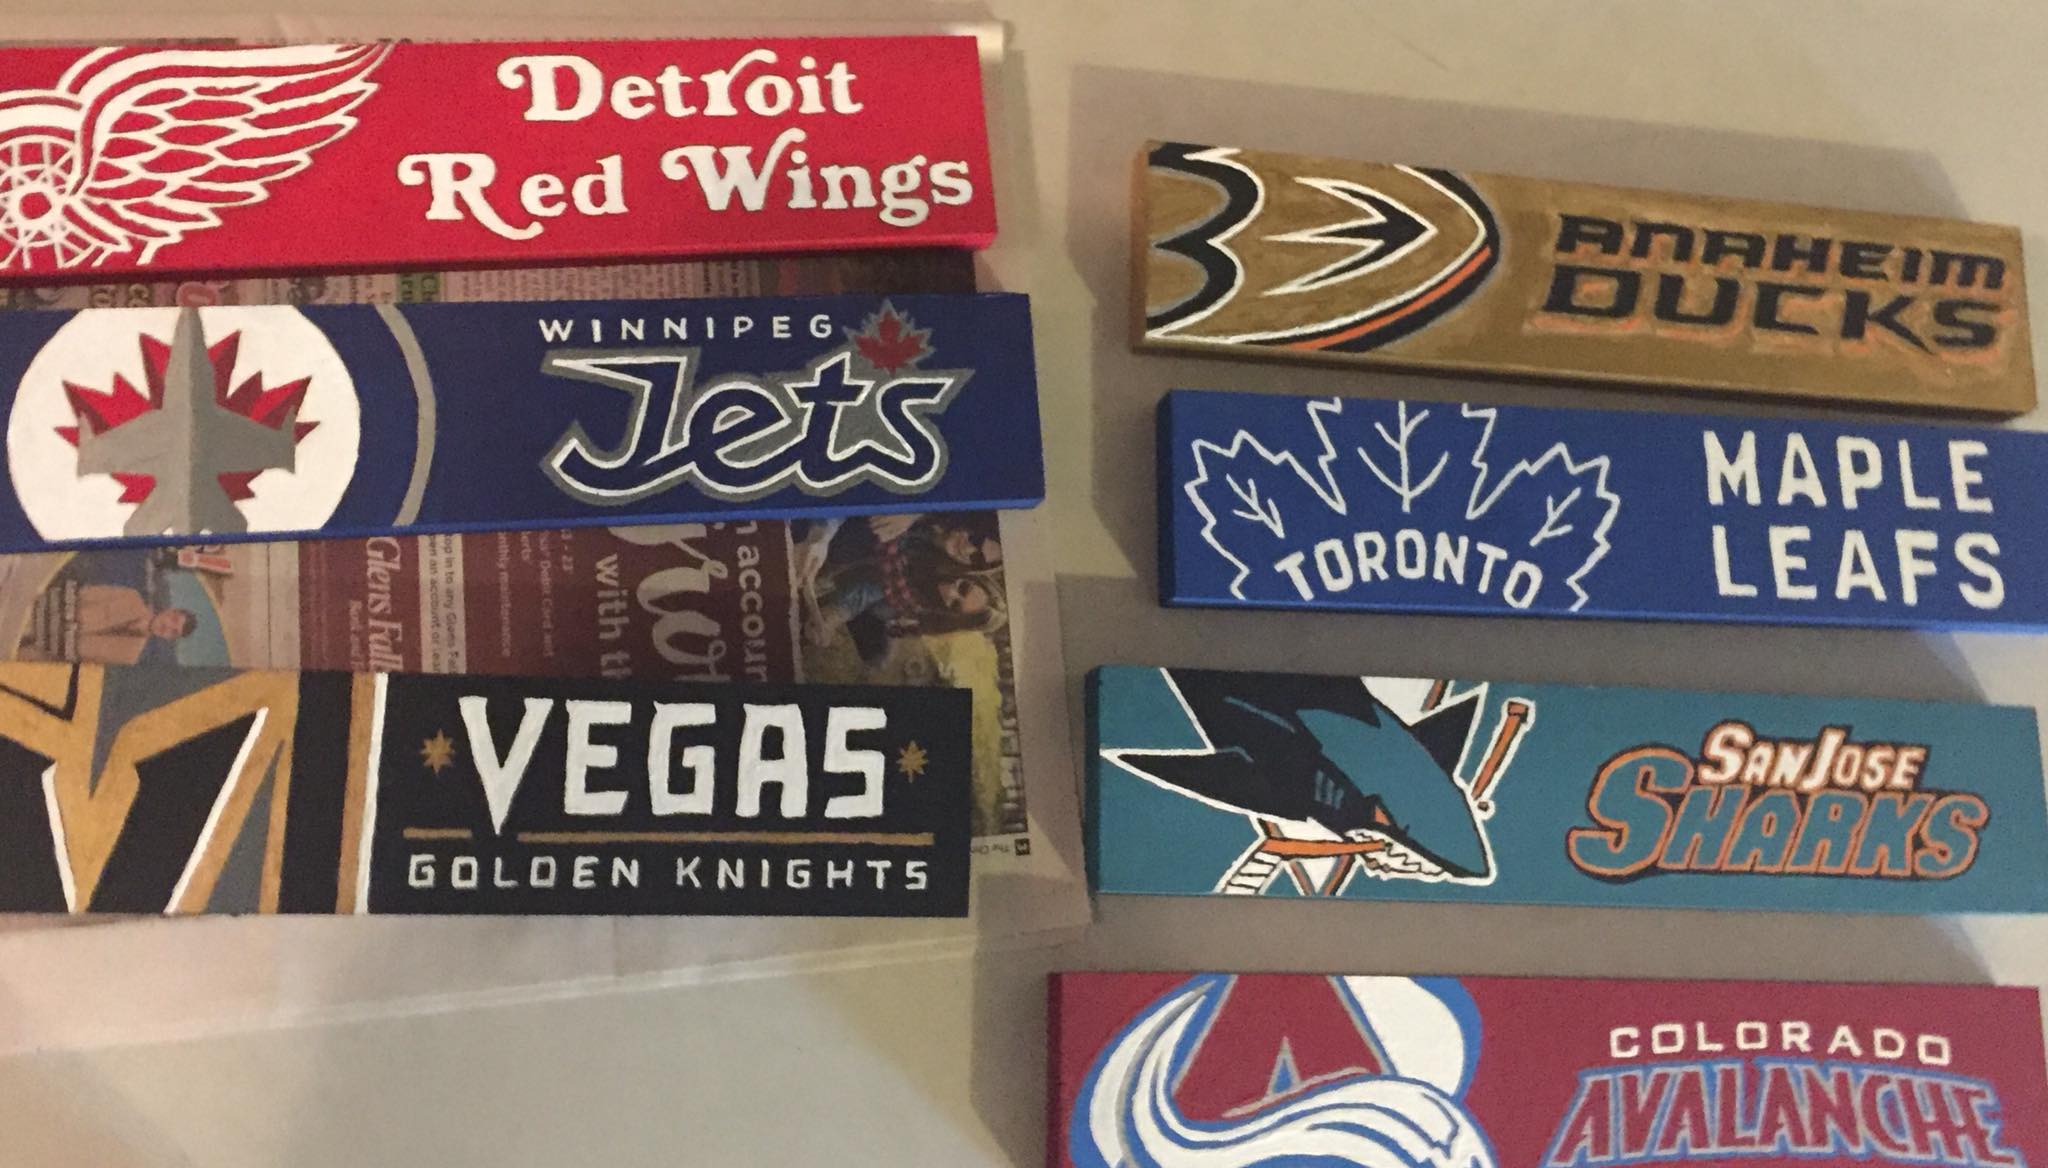
Then we chipped away at the 31 teams. The difficulty level of some teams was much higher than others, so we resorted to picking out of a hat to determine which team we had to do next. Seemingly, I got every single one of the most difficult teams!
We spent a ton of time at the craft store searching for paint colors that best resembled each team, and this wasn’t easy. We were holding our phone up and trying to get anywhere from 2-6 colors for each team.
This caused several trips to the store, and looking back, we should have written what colors we used on the back of each board.
Getting the Board
I never really measured out in my head how large the entire board would be. Once we started completing teams, it seemed like it needed to be bigger and bigger.
And how were we planning on listing the teams in terms of standings? By division? By conference? I ended up deciding to do the old-fashioned conference standings where it’s just a ranking of total points, regardless of division winners.

That would at least help save some room, but the board still ended up being massive. We went and got a thick piece of plywood because we wanted something sturdy enough to hold all the weight without it bending and good thing we did.
The board measures 5’2″ tall by 2’8″ wide and is 35 pounds, and that’s without any of the teams on it.
Once we hauled the board home, we needed to give it a background color. I spray painted it with a few coats to give it a silver, metallic-like look, resembling the Stanley Cup.
Monotonous Measuring
Even though all of the teams weren’t done, we wanted to measure out how this would look now that we had the board.
I wasn’t nearly prepared for how precise and detailed this would need to be, especially because we had already drilled holes where the magnets would fit perfectly and snug in the back of the team boards. We ended up increasing the diameter of those holes to make up for some minor miscalculations.
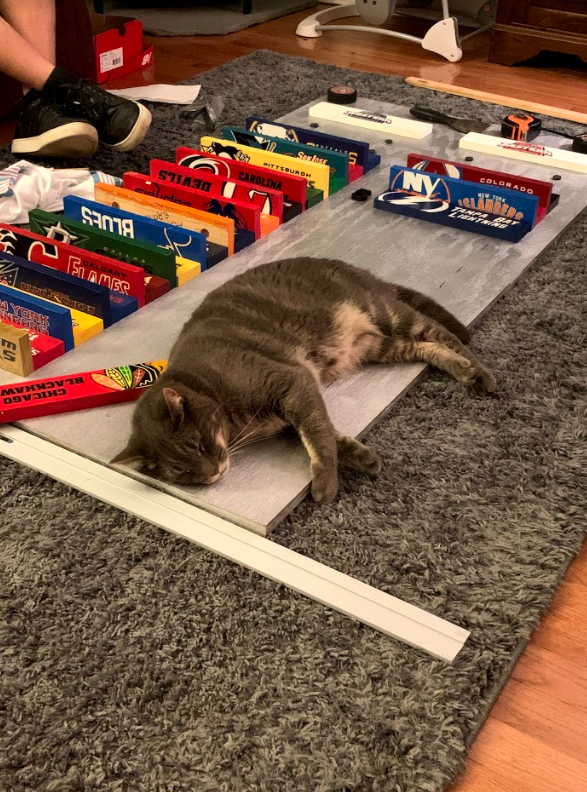


Once we had them all mapped out in pencil, we had to glue magnets onto the board in their precise position. This took an entire weekend. We would get a pair of teams set up using a T-Square, but then have to leave them there for a few hours to dry. It was far too risky to do more than a couple at a time, so we wanted to be sure each row was lined up perfectly.
Baby Interruption!
A big part of the reason the project took so long to complete is that our daughter was born in April of 2019!

Suddenly, we no longer had time for crafts or relaxing, or anything. She took over our lives and we couldn’t be happier! This little nugget is just perfect and growing up so quickly.

We continued progress on the 31 teams very slowly until we finally had them all completed. This included making a new team board for Buffalo’s return to royal blue. Then, Seattle announced their team name and colors so we got that one done, too.
But, if the NHL decides to expand any further, we’ll have to extend the board!
Overall
The board looks amazing! The colors are vibrant and the amount of detail is incredible. We like to make fun of our work at home because we can notice all of our mess-ups.
It would look a lot better if the Sabres were at the top (someday, right?) but this turned out to be even better than I expected and I’m really glad we did this. It’s something we’ll always have hung up and yes, I will update it every day when there is hockey.
Thank you to my wife and father-in-law for all of the help and time that went into this. I wouldn’t have been able to make it look nearly this good without them. The photos don’t do it justice. This board looks perfect in the man cave!
